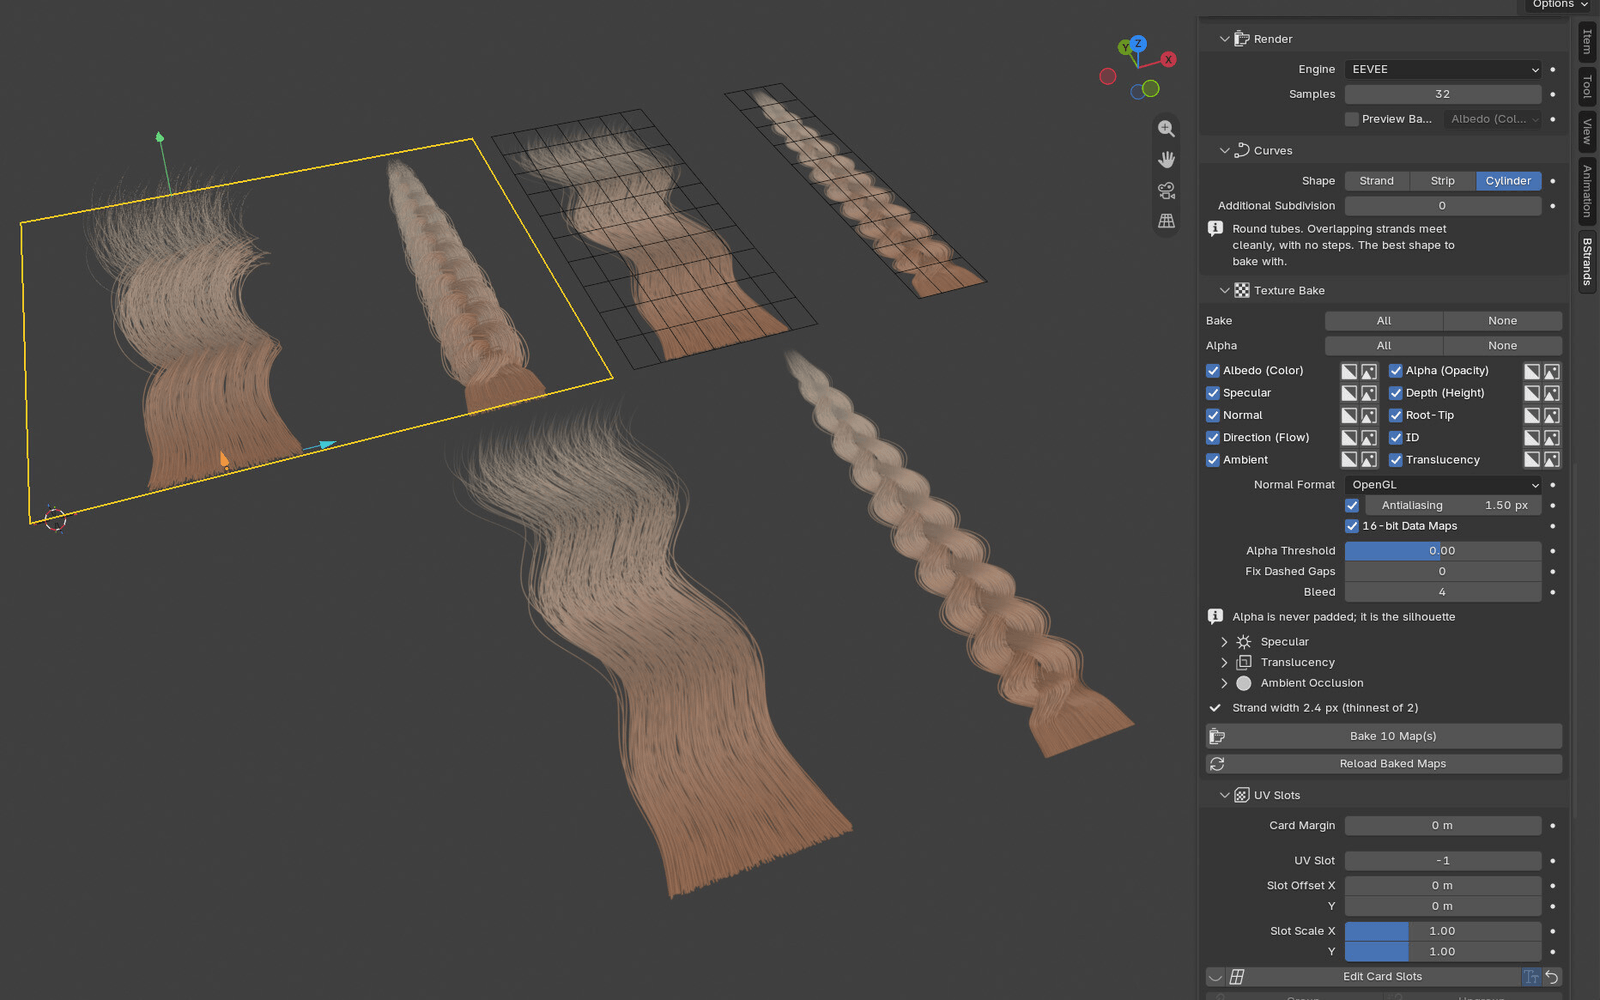
Quick Start: Your First Atlas
This walk-through takes you from an empty scene to baked maps and textured cards in about ten minutes. Every step links to a chapter with the full details.
1. Set up the scene
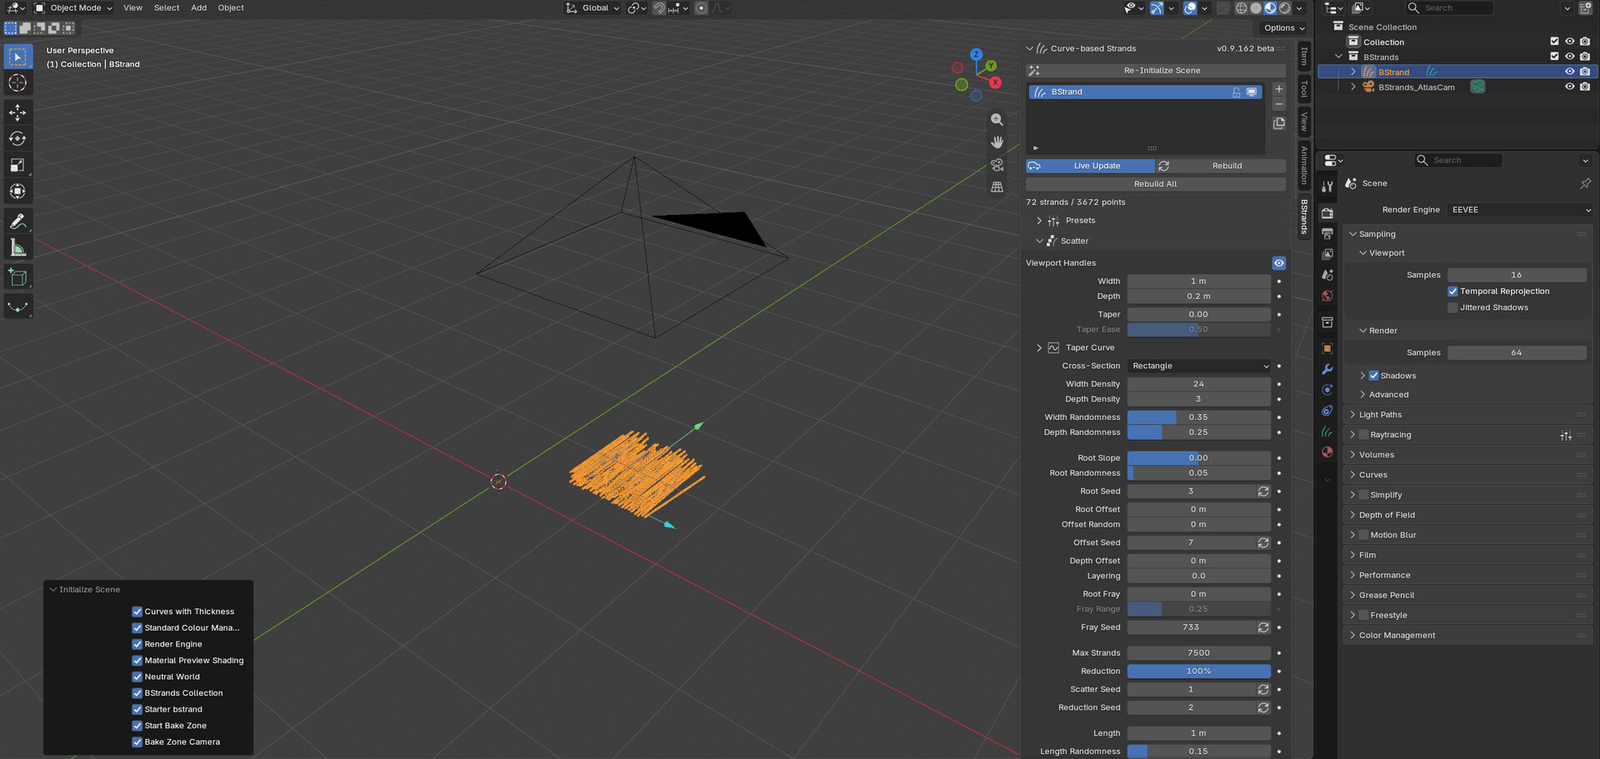
Section titled “1. Set up the scene”- Start a new Blender file and save it (File ▸ Save As). Baked maps go next to the .blend by default.
- In the 3D Viewport press N and open the BStrands tab.
- Click Activate Curve-BStrands.
You now have a starter bstrand inside a 2 × 2 m bake zone.
2. Start from a preset
Section titled “2. Start from a preset”- Open the Presets section under the bstrand list.
- Click Pick a Preset and choose Curl ▸ Soft-waves.
The preset applies as soon as you pick it. Press Ctrl+Z if you want the previous look back.
3. Add a second lock
Section titled “3. Add a second lock”- Click + beside the bstrand list. The new bstrand appears in the middle of the bake zone.
- Pick Braid ▸ 3-Braid from the preset menu.
- Move it beside the first lock: press G, then X, and drag.
4. Adjust the shape
Section titled “4. Adjust the shape”- Open Scatter and drag Width, Length and Thickness, or drag the coloured arrows in the viewport.
- Open Modifiers to see what the preset built. Try raising the Braid’s Tightness, or add a Noise modifier with Add Modifier.
See Strands, Presets and Scatter and Modifiers.
5. Colour the hair
Section titled “5. Colour the hair”Open Material and edit the Root to Tip Gradient: the left end colours the roots and the right end the tips.
6. Frame the bake zone
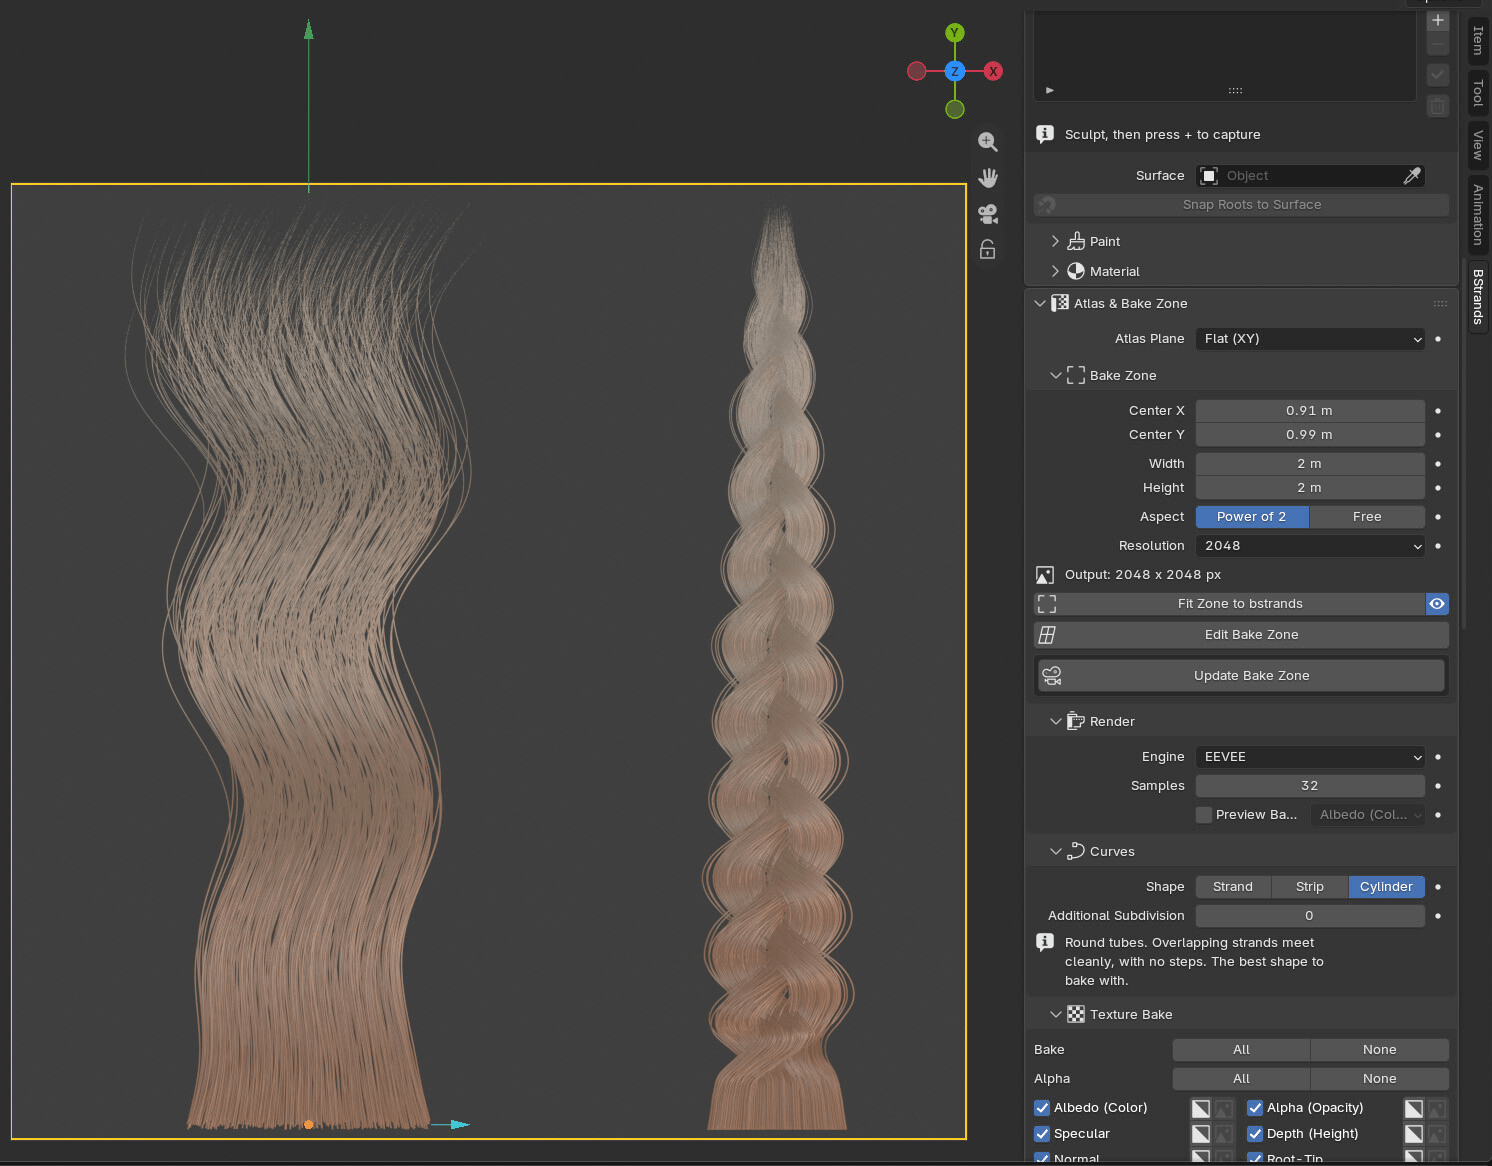
Section titled “6. Frame the bake zone”In Atlas & Bake Zone ▸ Bake Zone:
- Leave Aspect on Power of 2 for a standard game texture.
- Set Resolution to 2048 for a quick first bake.
- Click Fit Zone to bstrands. The yellow zone wraps both locks.
- Click Update Bake Zone to look through the bake camera.
7. Bake
Section titled “7. Bake”- Open Texture Bake. All ten maps are enabled; untick any you don’t need.
- Click Bake 10 Map(s) at the bottom of the section. A progress bar shows each map; Esc cancels.
- Click the image icon beside a map to open it in an Image Editor.
The maps are written to a BStrands folder next to your .blend, named like BStrands_albedo.png.
See Atlas and Baking.
8. Use the atlas
Section titled “8. Use the atlas”- In Cards, click Create UV-Ready Cards. You get one textured card per bstrand, ready to place on a head.
- Or, in Export & Save, click Export UV Layout (AHC) and import it into Agile Hair Cards.
See UV Slots, Cards and Export.